Welcome riggers! Before going on to the final character rig, I found it prudent to do a few small tests. I’m planning on doing a layered approach to the face rig, with some basic deformer based (armature/latice/curve/meshdeform/etc) controls for major motions on the ‘bottom’ layer, and more specific facial expressions on top. The latter will […]
Mouth Rig Test
Welcome riggers!
Before going on to the final character rig, I found it prudent to do a few small tests. I’m planning on doing a layered approach to the face rig, with some basic deformer based (armature/latice/curve/meshdeform/etc) controls for major motions on the ‘bottom’ layer, and more specific facial expressions on top. The latter will probably be blend shapes, but I haven’t decided completely yet.
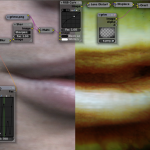
For the jaw, I wanted the ability to rotate the jaw freely (as well as push it back and forth) where rotating down results in opening the mouth/lips, and rotating up results in squashing the lips/face, no interpenetration. I mulled a few ideas, but finally decided on combining an armature deform (this could get a replacement in the final rig) to open the jaw, and a lattice deform to squash it, blending between the two based on the jaw angle.
The final result is a bit more complicated than that; I couldn’t find an easy way to blend modifier influences, so I settled for having both modifiers always on, but blending the influence of the bones that do the deformation based on the angle of the jaw. There is a slight risk here: two non-multimodifiers in the stack on top of each other might look bad splitting the deform, but the result in this test wasn’t too bad.
I present you with a quick video capture of the result:
Keep in mind this is just a test! for a real rig, a lot of refinement would be needed to create pleasing deformations; more complex rigging than just the jaw and head for deformation, more constraints, better weight painting, more careful placement and design for the bulge lattice, correction shapes, etc. However, for a test, this is showing some promise- though I would be more comfortable if I could use multimodifiers and blend the influence of the modifiers directly.
I’ll post more tests as I go along. If anyone is remotely interested in the .blend file for such a simple thing, let me know, I’ll be happy to upload it.
Last note: If you are on a mac and cannot view the video, download XiphQT. If you are using Windows download the Ogg codecs for windows . Firefox, Opera and chrome users should be able to view the video directly in the browser (as should Safari users with XiphQT installed). If it doesn’t work, just use the download link instead.
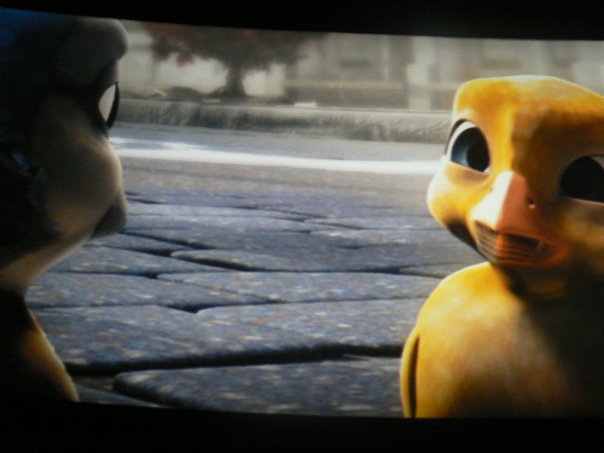
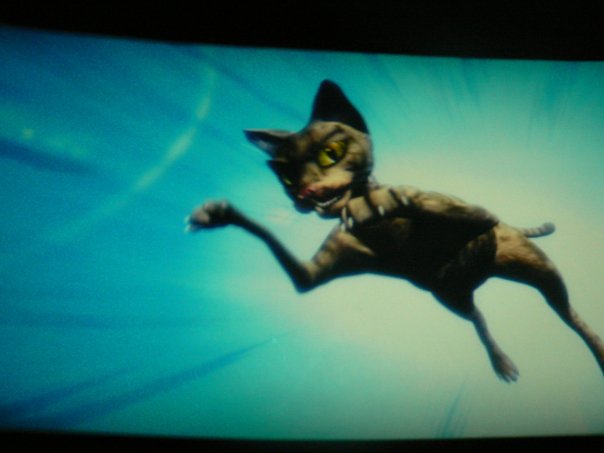
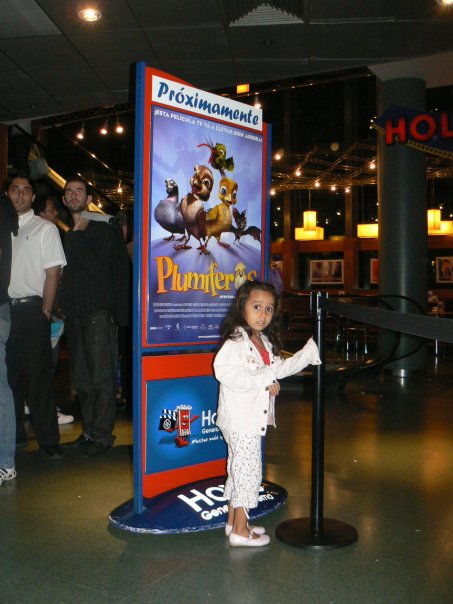
Bassam kindly invited me to write something about Plumiferos’ release happening this week. It might sound strange to read something about Plumiferos here but in fact it is not.
Some of us in the team, Bassam,JuanAngel and myself were part of the biggest film project done in Blender so far, and here’s the good news: it is finished. And it is showing in the theaters in Argentina as you read. The first Blender made feature film. Ever.
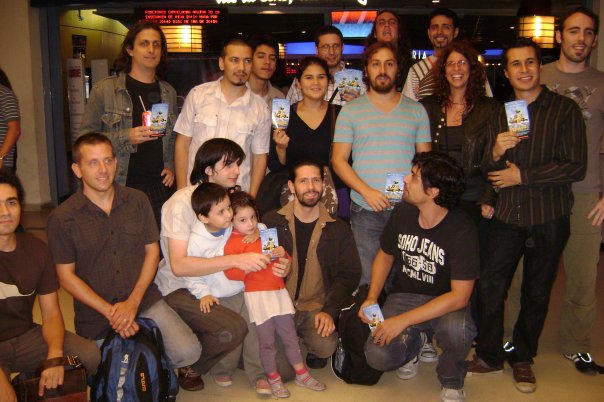
We are very proud of have been part of it 🙂
It was because of Plumiferos that I met Bassam, Juan and other wonderful people like Andy and VenomGFX. And for that I’m certainly grateful and happy.
Here’s Juan Angel writing…
I agree with Malefico, about learning from it… The best part of it, instead the experience, the learning (technical and human), and getting new knowledge and skills…
But the best part, as the Plumifero’s director (Daniel De Felippo) told me… was knowing those couple of amazing people… Malefico, Pico, Ivan, Diego, VenomGFX, Bassam!, Andy!, Daniel… and some others too…
I mentioned we were contemplating a switch to 2.5 ( we are experimentally using 2.5 right now with minor ‘dips’ back in 2.49) in a previous post. We thought it would be fun to show some of our ‘versus’ tests until we stick with one or the other. First up: Bump mapping. We used the […]
blender 2.4 vs. 2.5: Round 1
I mentioned we were contemplating a switch to 2.5 ( we are experimentally using 2.5 right now with minor ‘dips’ back in 2.49) in a previous post. We thought it would be fun to show some of our ‘versus’ tests until we stick with one or the other. First up: Bump mapping. We used the exact same .blend file in both versions, no cheating.
Making of Suzanne Festival Intro and Interstitials
Genesis Having volunteered to organize the submissions and jury selection for the Suzanne Awards at the 2009 Blender conference, I felt that the awards would be ‘naked’ without at least a short intro animation and some interstitial title holders between the entries. This had to wait though, since in addition to Tube I had to […]
Making of Suzanne Festival Intro and Interstitials
Genesis
Having volunteered to organize the submissions and jury selection for the Suzanne Awards at the 2009 Blender conference, I felt that the awards would be ‘naked’ without at least a short intro animation and some interstitial title holders between the entries. This had to wait though, since in addition to Tube I had to finish a job for a client. My initial concept was to do a short intro of paning shots against an industrial background, and then do a series of short 10 second shots for the interstitials, each one ‘discovering’ an unlikely critter or group of creatures living in between the wires, tubes and mechanisms.
Concepts
Fast forward to two weeks before the conference- I’ve muddled through accepting submissions, arranging them, and getting them to the judges- albiet a little late. The judges are still not ready to vote, but I’ve finally got the free time to make and direct the intro. To this purpose I recruited three people from the tube team, Kursad Karatas (modelling/animation/concept) ,Jarred De Beer (Modelling/Texturing) and of course Jan Morgenstern (music composition and sound). I appropriated some of the props from tube and created a new project svn, with a slightly nasty directory layout intended to work with farmerjoe if needed. Our concept ‘techno-mess set with critters’ was an ok starting point. Kursad found some nice reference from 12 monkeys, and the idea of using screens with actual video on them was born. The appeal here was that the video would be faster to get into shots than animated critters, and that it could provide narrative/motion interest to otherwise static shots.
We set out at a relatively sane pace, getting elements in, honing the concept, slowly assembling the shots. Our initial concept (without the TVs) called for lots of little critters living in the technomess, revealed in some sort of nature-show documentary style. I made some concepts that focused on keeping the animations really simple (plant inspired critters) and Kursad added a few color/animalistic concepts to the mix. We worked in mypaint, using mypaint’s ‘infinite canvas’ feature to add and add, resulting in a document that was over 7k pixels wide. Here’s some scaled and cut up images from the concept document:
Before laying out the shots, I went (again in mypaint) and made some really rough sketches to get a basic concept/storyboard going. The idea here was to create a rough skeleton so I could communicate to the rest of the team where the whole thing was headed. I also wanted Jan to have something to look at to help him plan the soundscape, since he was going to have very little time to compose the music for the piece.
Building Assets
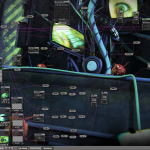
After the intial creature concepts were made and we came up with the idea of the televisions, we decided to keep blender-y things the TV screens. The idea was to have a progression: closeups of eyes (seeing), then hands (doing), hands on keyboards/mouses, blender screenshots, and finally clips from the movies themselves. For the interstitials, we would just have the title and creator of each movie on screen, with various critters on the set watching it, or just existing. Kursad, Jarred and I got down to brass tacks in blender, and we populated our SVN tree with sets, props, and creatures.
At this point our pace was still fairly sane, and as the asset-bucket filled up, we could specialize: Jarred focused on texturing the sets, Kursad went from modelling to animation, and after modelling I spent time on rigging and building the shots.
A fun aspect of this project was the 2D assets. Initially I would stalk and corner people I knew into being camera subjects, but then I asked one of the animators who haunts the ‘drome if she would borrow my camera and do more. She got me about 3 times the amount of footage I needed in one night.
The problem with the video was that it was too clean and friendly, not the nasty grungy look I wanted for the movie. We fixed that by creating a comp in blender and ladling in noise, grunge, vignette, horrible color distortion, lens distortion, chromatic abberation.. and degradation via blurring and sharpening.
Needless to say, having a bunch of video textures in our svn quickly made it huge, and I still had the headache of how to add a different image to each screen in a controlable, linkable way.
The Final Countdown
All this work took us to two days before the conference, the day I was supposed to get on a plane and go to Amsterdam. I simplified the intro down to just four shots, and decided we would make only one interstitial video, and only vary the text for each film. Before I left, we all updated our SVN folders, and I told Kursad and Jarred to only touch shots one and three, while I would work on shot seven and eight (numbering correct). That way, I could work on my shots during the flight and not clobber anyone else’s work. Between airport stays and having two batteries on the flight, I managed to get about eight hours of work in on the flight over, a record for me. I solved the problem of getting the video on the screens; all the screens are the same, and I used a combination of object ID, UV distortion node, and renderlayers to map a different image to each screen.
The grungifying and embedding of the real videos inspired using the tv’s as a device to transition the shots; instead of dissolving from pan to pan, I would go ‘through’ the TV image. In addition, I could grungify the 3D work as well, and get some of the blenderwork ‘on tv’ in addition to the video.
After arrival in Amsterdam I went to the Blender Institute where I was joined by Pablo Vasquez (venomgfx). He volunteered to help, and we spent a day and (almost) sleepless night finishing up the comps, getting all the elements into the shots, rendering, adding titles, etc. Somewhere in there Pablo managed to put together the interstitial shot.
In the meantime, Jan lost most of his harddisk in a backup-gone-wrong incident, and we thought that this would be an excersize in silent film. Luckily, he used a backup tool, spent 20 hours cursing, and actually got back his data. I sent him half rendered/half OGL versions of the teaser, and he got us back a music track just one day before the festival.
In the final few hours we finished up our renders, clumsilly comped over render errors we had no time to fix, spit out all the different text interstitials, and assembled all the movies and the intro into a giant playlist. I quickly shoved my laptop in my bag, and made my was as fast as I could from the institute to the conference. I arrived exactly two minutes before the festival schedule, and I believe we started the movie about 10 minutes late.
Liftoff!
So, here’s the video that played at the festival. I’ve spliced together the intro, one of the interstitials, and the final credits screen. It would be pretty cool if we could find a way (vimeo? youtube?) to make a playlist of the entire show. If anyone has a suggestion as to how, let me know in the comments. In the meantime, enjoy the video:
AfterGripes
We didn’t have time to render at HD, and didn’t have time to include many assets and narrative elements that were intended to make the viewing a little more layered and satisfying. Kursad made quite a few more animations than were shown, and there were even critters made by Kursad, myself, and Chris Webber that never made it into rigging and animation; one of the critters was supposed to be riding the camera in the scene, and get viewed over close-circuit TV. In addition, some comping and rendering errors crept in that we didn’t have time to fully fix.
Nonetheless, I’m pretty happy with how far we got in such a short time, and the cutting, though painful, was needed to get the thing done in time for the conference. Next time we’ll take one more week 😉
On switching to 2.5, spline IK and a new download.
I’m in the middle of considering whether switching tube to 2.5 is a good idea or a terrible one; on the one hand, there are many goodies there that would make our lives much, much easier, and more planned on the durian timeline; tops on my list are the new animation system, impoved python api, […]
On switching to 2.5, spline IK and a new download.
I’m in the middle of considering whether switching tube to 2.5 is a good idea or a terrible one; on the one hand, there are many goodies there that would make our lives much, much easier, and more planned on the durian timeline; tops on my list are the new animation system, impoved python api, and the planned improvments to the library/linking/proxies system, and later down the line, all the render improvements and speedups.
On the other hand, Blender 2.5 simply isn’t ready at this point in time for a production this size; too many things aren’t done (even in the above list) and even some 2.49 stuff still isn’t ported. In addition, there are crashes, hangs, segfaults, you name it… not a safe thing at all. In order to make this transition make sense, we have to commit to a ‘durian +1’ schedule: that is: take Durian’s schedule and add one month.
Benefits of this is I really don’t have much scheduling to do! i’d take advantage of Ton’s excellent organizational abilities, in addition to his (and the rest of the team’s) new code. Downside is that Durian is a bigger project, and I don’t think I need the entire production time of Durian to finish tube… we’ll see.
To make things even harder, Aligorith (Joshua) has just added a great new feature on the durian wishlist.. spline IK.. making it even more tempting.
Jamal and I have made builds on our machines with the new spline IK in them. Be aware that Jamal switched his 2.5 build to use the new cocoa port to 64 bit, so he’s making (lets see if I get it right) a universal binary which will use 64 bits on 64 bit machines. Both are available in the downloads section of this site.